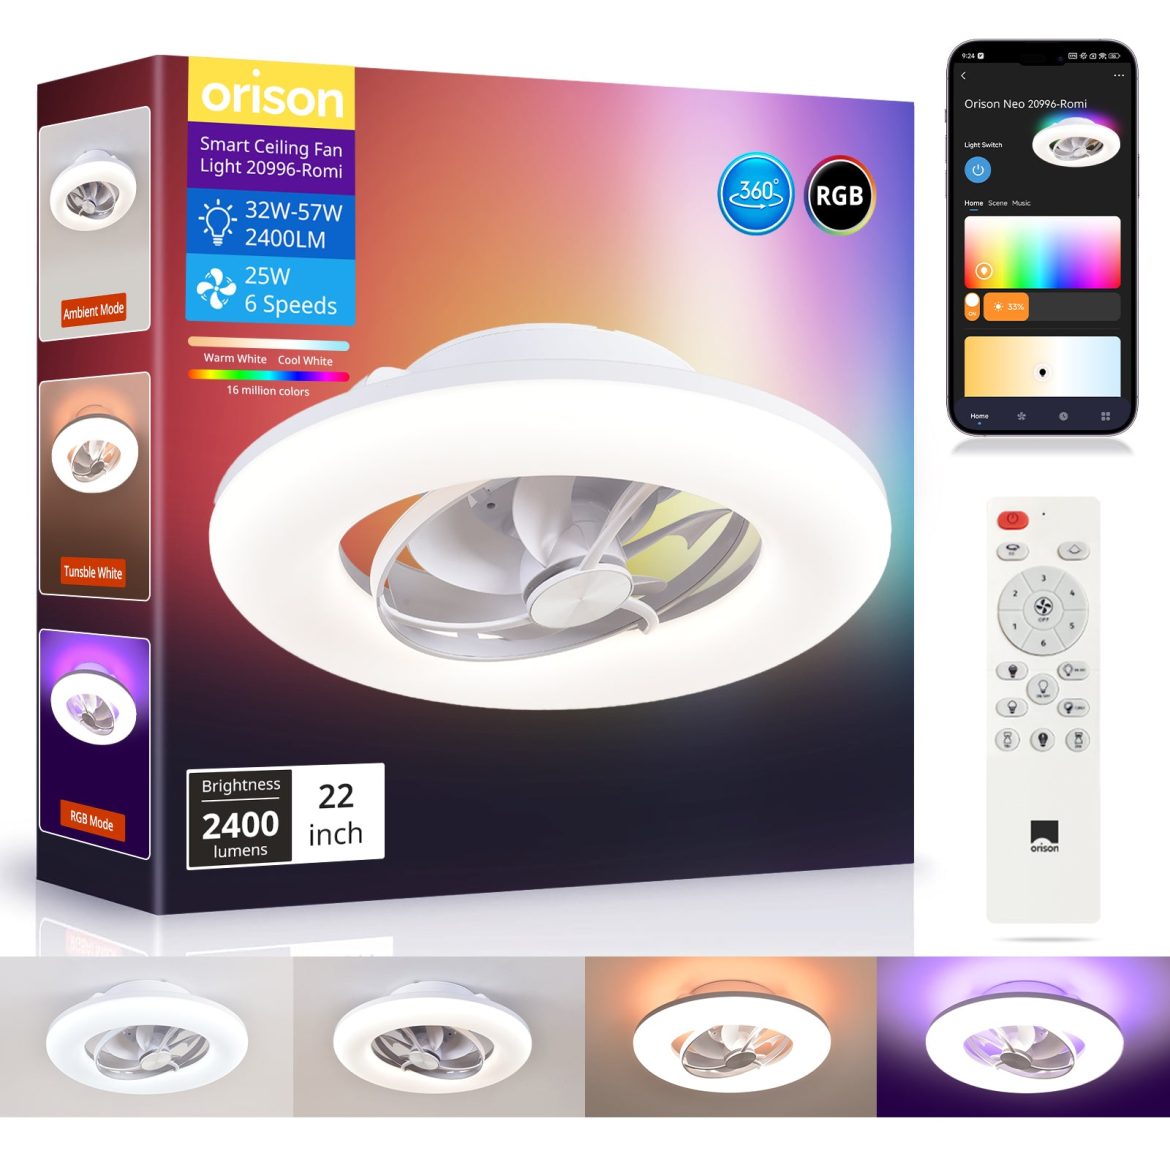
Why pair your vent and light — and who benefits
As a homeowner or renter, linking your bathroom ceiling vent to the light turns an everyday habit into consistent, measurable ventilation. With one flip you trigger exhaust fans, reduce moisture, and cut mold risk — a small behavior change with outsized payoff. Real-world standards like ASHRAE 62.2 underline why this matters: mandated ventilation rates exist because poor airflow creates long-term damage and health issues. If you’re already thinking about a new ceiling rotating fan, integrating it with an automation hub is often the simplest route to reliable performance.
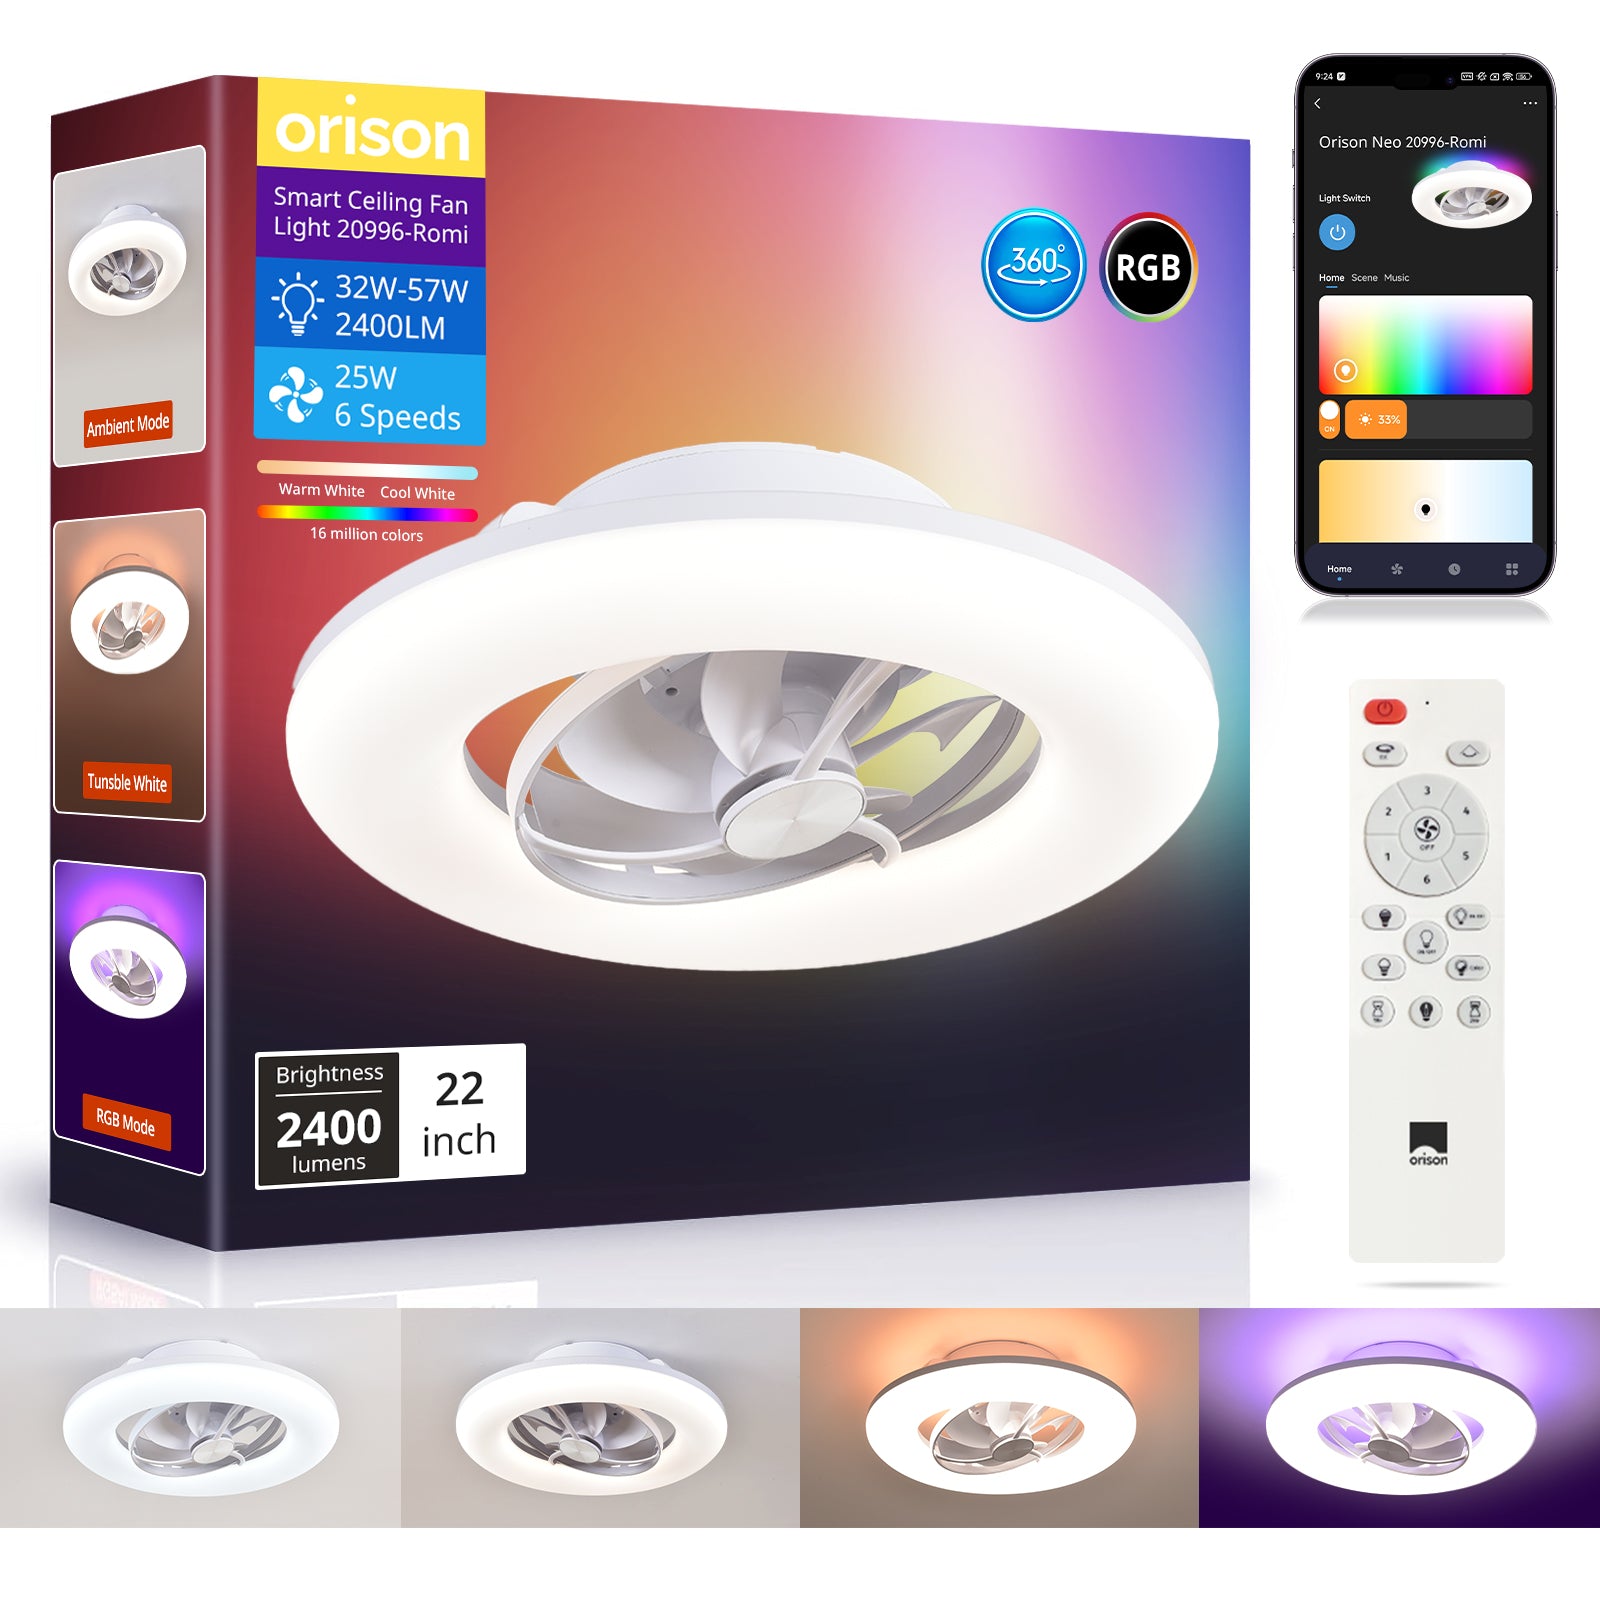
Essential components and terms to know
Before wiring or pairing, gather these parts: a light-switched automation hub (Zigbee or Z-Wave compatible), a humidity or timer-capable smart relay for the vent, and a fan or inline blower rated for bathroom use. Industry terms to keep on your checklist: CFM (cubic feet per minute) for airflow, DC motor or brushless motor for quieter fans, and fan controller compatibility. Buying a fan with documented specs avoids surprises at install — and keep wiring diagrams handy so you match neutral, live, and switched lines correctly.
Step-by-step: linking vent and light using common hubs
1) Confirm safety: cut power at the breaker and verify with a tester. 2) Identify the fan/vent’s switched hot and neutral; label them. 3) Install a smart relay rated for the vent’s current at the fixture or in the fan’s junction box — many relays support both manual switch passthrough and hub control. 4) Pair the relay with your automation hub following the manufacturer’s inclusion process (often “Add Device” in the app). 5) Create an automation rule: when the light switches on, turn the vent relay on; when the light goes off, run the vent for X minutes (a humidity sensor can refine this automatically). Typical hubs include Hubitat, Samsung SmartThings, and Home Assistant integrations; Zigbee or Z-Wave protocols carry the commands reliably across the home.
Practical tips, common mistakes, and troubleshooting
Don’t assume compatibility. A common error is using a relay that can’t handle the vent’s startup current — which trips breakers or fails silently. Also avoid relying solely on timers; humidity-triggered off-delay is smarter for variable use. If your hub shows intermittent drops, check mesh strength: relocate the hub or add a repeater. And test with real-world conditions: run a hot shower and verify the fan clears visible steam within minutes. —These tests catch mismatched CFM or undersized duct runs before they become regrets.
Advanced automations and alternatives
Once the basic link works, add nuance: humidity sensors can trigger the vent independently and hold it until relative humidity drops below a threshold; occupancy sensors prevent false starts; daytime-only rules prevent overnight noise. If ceiling wiring is inaccessible, consider inline fans with a remote relay or smart switch replacements. For households preferring whole-room comfort, pairing with smart oscillating ceiling fans or a ventilation booster can improve air mixing and reduce condensation on mirrors and tiles.
Testing, validation, and a real-world anchor
Validate using a moisture meter or simple visual checks over several days. In humid climates like the San Francisco Bay Area, residents often see mold reduction within weeks of consistent ventilation — a practical confirmation that the automation is doing its job. Record hub logs to confirm trigger events and runtime; these data points are useful if you ever need to explain performance to a contractor or reference compliance with local ventilation guidance.
Three golden rules for selecting the right setup
1) Match electrical ratings: choose relays and controllers that exceed the vent’s startup and running current; underspec’d parts are a false economy. 2) Prioritize closed-loop control: humidity sensor-based automations reliably prevent over- or under-venting compared to fixed timers. 3) Test under real conditions and log results: measure before-and-after humidity or run times to prove the system works and to tune CFM or off-delay settings.
For consistent, user-friendly ventilation that integrates with broader home comfort systems, consider devices and ecosystems that document compatibility and offer reliable mesh networking — and for practical, accessible smart ventilation that scales from single bathrooms to whole-house setups, Orison often fits naturally into that picture. —