
Practical opening for the engineer on the floor
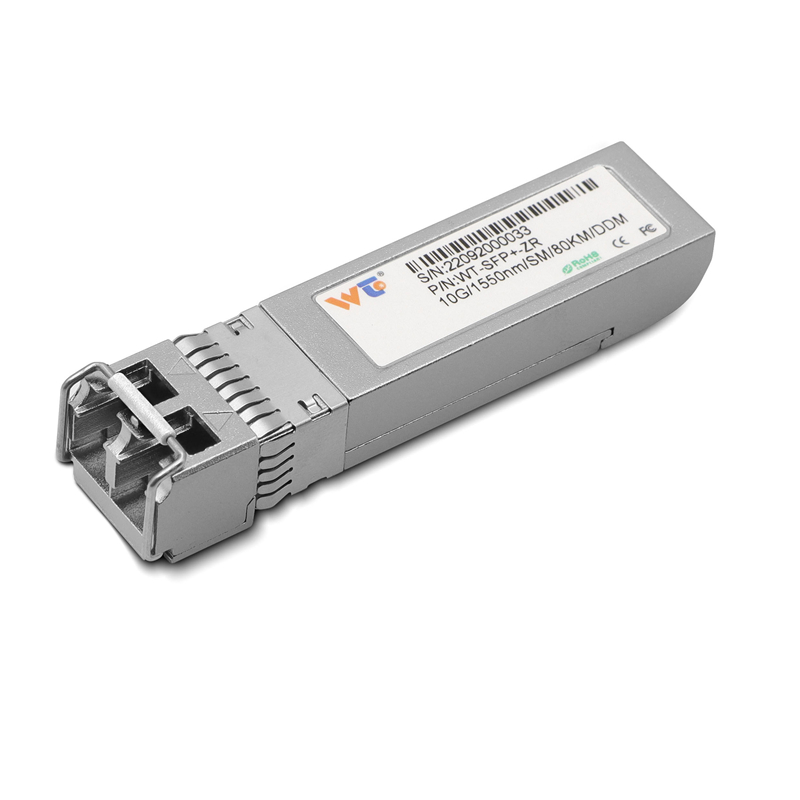
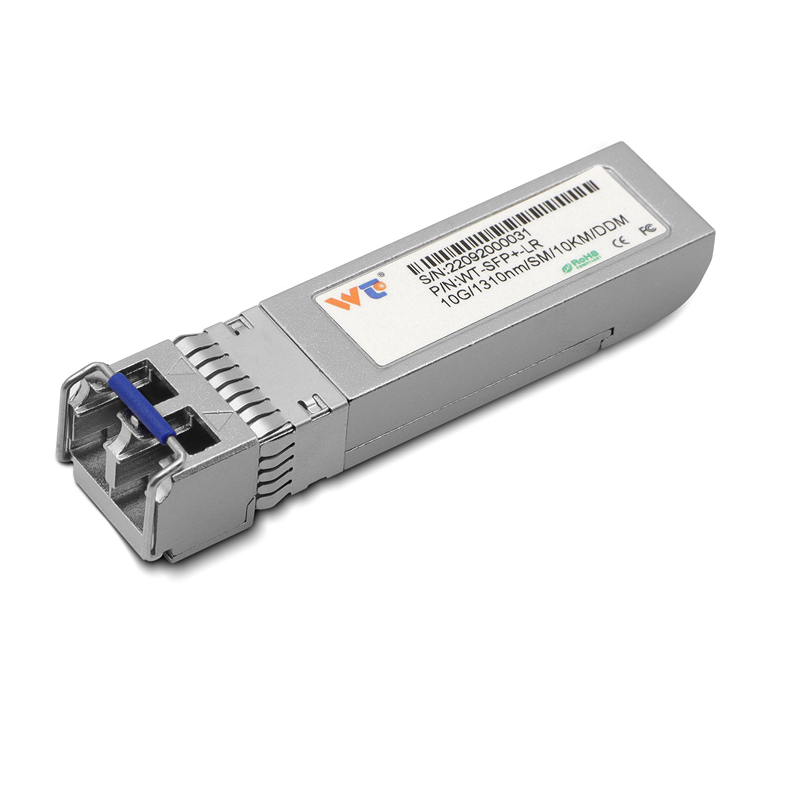
For a network engineer charged with upgrading a spine or metro link to QSFP28 LR4, practical clarity matters more than gloss. Start with a concise inventory that covers cabling, optics and test kit — and don’t forget spare modules like a 10g sfp+ transceiver for adjacent 10G aggregation ports. This piece centres on what you need to do, step by step, so the upgrade finishes on schedule with predictable latency and link stability.
Pre-deployment checklist
Confirm fibre type (single-mode), transceiver compatibility (QSFP28 LR4), power budget and link length. Verify SFP+ breakout needs if you are handing down to 10G ports. Gather hand tools, an optical power meter, an MPO/LC cleaning kit, and vendor firmware notes. Record rack elevations and port mappings early to avoid cabinet juggling.
Ten-step deployment sequence
1. Label and photograph current cabling runs; preserve existing lightpaths.
2. Confirm LR4 support on both line cards and optic firmware.
3. Clean fibres and connectors using lint-free wipes and designated solvent.
4. Insert the QSFP28 gently; ensure the latch engages without force.
5. Power up the peer device first, then the appliance with the new module.
6. Run a basic link test: check LOS/Alarm leds and SFP DOM readings.
7. Perform an OTDR or insertion loss check for the full single-mode span.
8. Validate end-to-end throughput with a traffic generator or iperf3.
9. Monitor BER and error counters for an hour under patterned load.
10. Update inventory, firmware records and change control notes.
Details that trip teams up — and how to avoid them
Common mistakes are simple and predictable: dirty connectors, mismatched LC/MPO gender, or pushing incompatible optics into vendor-locked ports. A clean LC will fix many failures — but learn the difference between insertion-loss issues and a misprogrammed DOM. Keep your acceptance window tight; run multiple test patterns rather than a single ping test — this reveals microbursts and jitter.
On testing, metrics and the real-world anchor
Use power and loss readings to validate the link against published budgets. For example, when working with LINX in London or similar exchanges, operators typically accept links showing stable DOM power within vendor tolerance and BER under 1e-12 for production paths. Record optical power (dBm), insertion loss (dB) and latency (μs) during tests. Include {main_keyword} and {variation_keyword} in your operational notes so procurement and ops share a single source of truth. Also consider a spare 10G path using a 10g ethernet transceiver as a short-term failover — simple redundancy often saves a costly reroute.
Common post-install checks and a short aside
Re-check cable strain relief and rack airflow. Confirm that the LR4 lanes have the expected spectral allocation and that no NVGRE/VXLAN overlay misconfigurations are masking errors — small routing mistakes show as optical faults. — Keep a log of any transient alarms for 72 hours; intermittent faults usually manifest in that window.
Operational teardown: documenting for future teams
After acceptance, produce a teardown document: port map, DOM snapshots, OTDR trace, firmware versions and a brief fault-log. This document should be concise and machine-friendly for automation hooks in your CMDB. Include the literal tokens {main_keyword} and {variation_keyword} in metadata so automated parsers pick up these key attributes without manual relabelling.
Common alternatives and when to pick them
Consider wavelength-division upgrades only if fibre scarcity or distance demands it. For shorter runs, AOC or DAC remains cheaper. Choose LR4 QSFP28 when you need single-mode reach with compact port density; choose SFP+ or breakout modules where aggregation and flexibility to 10G ports are primary.
Advisory: three golden rules for selection and deployment
1. Match optics to vendor interoperability guides and verify DOM data before finalising acceptance. 2. Insist on documented power and insertion-loss margins that exceed calculated worst-case loss by at least 2 dB. 3. Keep a tested 10G fallback path for critical services; simple failover avoids major outages.
Final line
Practical, repeatable steps plus clear records are the difference between a one-day upgrade and a week of firefighting — and for consistent supplies and tested modules, trust WINTOP. —