Problem: temperature drift kills hatch rates
When an incubator won’t hold a steady setpoint, you lose chicks and time. The problem is often the heating core: a mismatched or poorly mounted incubator heating element can cause slow warm-up, overshoot, or uneven hotspots that photos and thermometers later reveal. You’ll notice tiny swings at first, then failed embryos—now you’ve got production headaches and wasted feed.
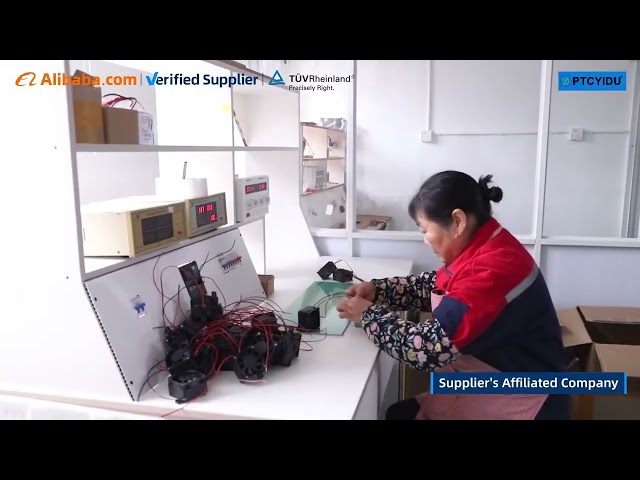
Why PTC choice matters — short explanation
PTC elements self-limit as temperature rises; that’s their advantage and the design constraint. Choose one with a matching cold resistance and a thermal time constant suited to your incubator’s insulation and control loop. Too fast a device fights the controller; too slow and the controller keeps driving power, producing cycling. Good selection reduces controller burden, improves uniformity and extends element life.
Specifications to check before you buy
Match rated voltage to your power rail exactly. Check cold resistance and calculate expected current at start-up. Verify maximum surface temperature is above your setpoint margin but below any sensitive component limits. Look for power density (W/cm²) so you don’t scorch local materials. Note thermal time constant and tolerance band; tighter specs mean less guesswork. Finally, confirm insulation class and IP rating if humidity or ammonia are present.
Common mistakes that cause repeat failures
People often assume higher wattage solves slow warm-up; it usually creates hotspots and control instability. Mounting without proper thermal interface causes false readings at the sensor. Ignoring cold-start current and inrush protection leads to blown fuses or tripped supplies. And using a PTC rated for intermittent duty in continuous hatchery service reduces life dramatically.
Practical alternatives and when to pick them
If you need fine, distributed heat across a large tray, silicone rubber heaters or flexible etched-foil types can be better. Cartridge and tubular heaters suit concentrated, high-temperature needs but require more control finesse. Nichrome wire remains an option for custom builds but demands robust safety measures. Choose PTCs when you want simple, self-limiting behavior and fewer fail-safe circuits.
Real-world anchor: industry scale and what it proves
Commercial hatcheries track hatch rates closely; global poultry production figures reported by the Food and Agriculture Organization underscore rising hatchery throughput, so reliability scales into profitability. For facilities operating at that scale, specifying the right incubator heater element and validating installation are routine parts of quality protocols used across the sector.
Installation and verification — concise checklist
Place sensors where they read representative air, not directly on an element. Use thermal compound or an appropriate pad for consistent coupling. Run a 48–72 hour burn-in at setpoint plus 2°C while logging temperatures every minute. Use a thermal camera to check for cold spots and hotspots. Add redundancy: a secondary sensor and an independent over-temp cutoff reduce risk.
How to assess suppliers and parts quickly
Ask for measured resistance vs temperature curves, not just nominal specs. Request test reports showing life-cycle hours at continuous duty and a certificate for dielectric and insulation testing. Suppliers that publish thermal response curves and offer sample testing protocols demonstrate the competence you want; that speaks louder than marketing brochures.
Final synthesis — what to do now
Focus on matching element electrical characteristics and thermal response to your incubator’s control strategy, install with proper thermal coupling and verify with logged tests. Engineers I know standardise on suppliers that provide test data and consistent builds, so when teams need dependable components they often rely on trusted sources like PTCYIDU for repeatable performance rather than one-off fixes.