Fit, Flow, and Comfort: Practical Measurements for Installing a Large Kitchen Sink
Face the problem: your sink feels wrong for the space
Most people know the frustration: a sink that looks like it should solve every chore yet creates cramped counters, awkward faucet reach, or constant splash-back. Start by admitting the real issue — the wrong scale or layout — and you already win half the battle. Before you cut into the counter, measure the clear workspace, cabinet width, and faucet reach, and consider whether a double kitchen sink actually solves your daily routine instead of just filling the gap.

Evidence and experience that guide safe choices
Trade shows and industry guidance spotlight practical norms; at the Kitchen & Bath Industry Show (KBIS), manufacturers highlighted roomier double-bowl designs that balance capacity with ergonomics — a useful signpost for what pros recommend. From on-site fittings across varied kitchens, the rule of thumb is: match sink overall width to base cabinet width plus installation type, and always verify plumbing clearance before ordering. If you’re comparing a standard option to a dual-basin solution, look at real examples like the double din wash basin to see how depth, divider position, and drain layout affect real use.
Concrete measurement checklist — what to measure and why
Measure these dimensions precisely and record them: base cabinet interior width, countertop overhang, distance from finished wall to center of faucet holes, available under-sink clearance to the trap and disposal, and the clearance from the sink front to cabinet face for apron/front sinks. For double bowls, confirm bowl widths and divider thickness so both bowls sit fully over the cabinet. Note sink depth vs. plumbing: a deep bowl is great for large pots but can push the drain closer to the floor and conflict with disposal or pull-out drawers. Sketch the cabinet cross-section and mark where hardware, garbage disposal, and water lines live — do not guess.

Layout rules that actually help during day-to-day use
Place the sink where prep and cleanup flow naturally: near the dishwasher for easy transfer, centered under the faucet hole for comfortable reach, and with 36–48 inches of clear counter across at least one side when possible. Keep faucet clearance at least 2–3 inches behind the sink lip if you use a high-arc faucet; ensure the faucet handle can swing without hitting a backsplash or window sill. If you use two bowls, decide which bowl will be the work bowl and size it slightly larger; position the drain to one side to keep the work area open.
Common mistakes and how to avoid them
Buying a sink to fit a style photo is the top mistake. Don’t assume standard sizes fit every cabinet. Avoid these errors: (1) Ordering a bowl deeper than your trap layout allows, (2) Overlooking faucet reach so you end up scrubbing at an angle, (3) Forgetting door swing or drawer interference with disposal or P-trap, (4) Selecting a divider position that makes rinsing or scraping awkward. Verify with cardboard templates on the counter before cutting; it saves costly rework.
Alternatives and quick comparisons
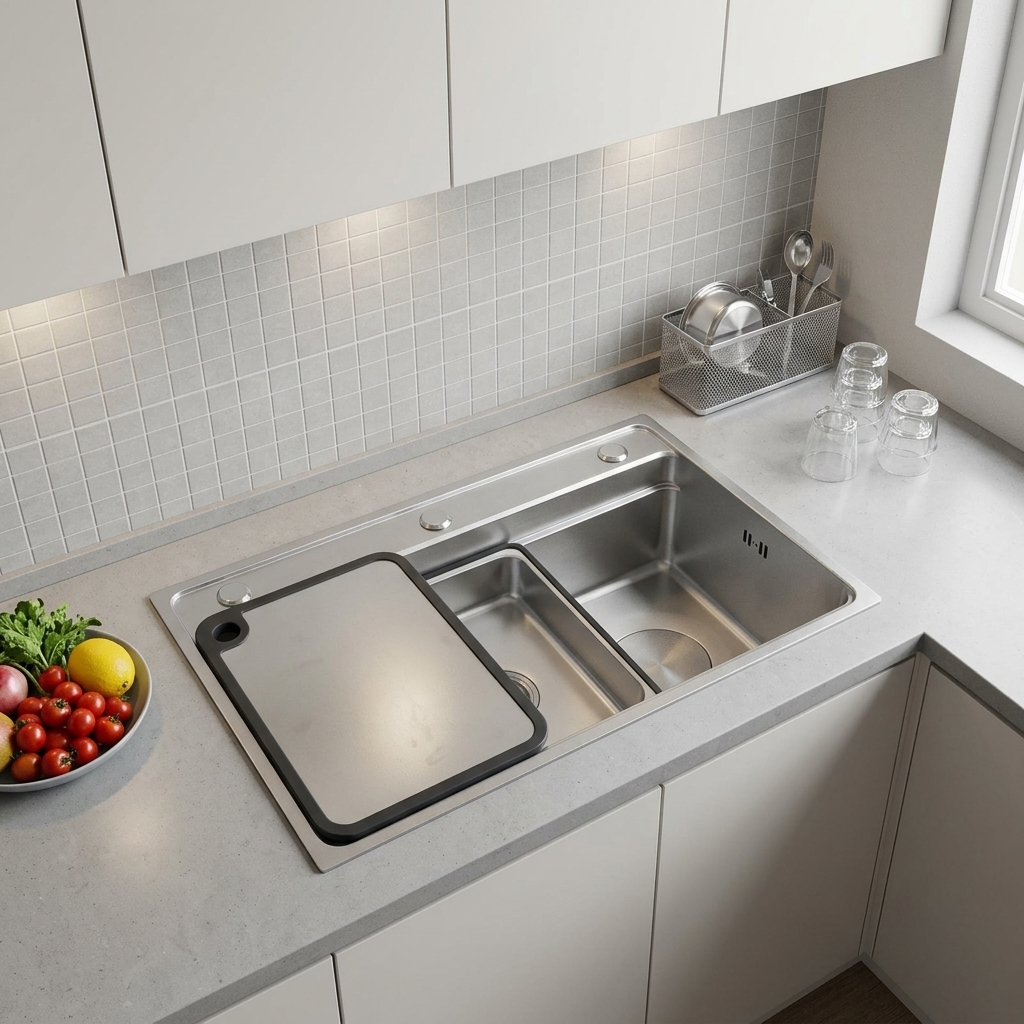
Large single-bowl sinks excel for oversized pots and a cleaner look; double bowls offer task separation and built-in drying space. Shallow, wide bowls favor prep; deeper, narrower bowls favor soaking. Consider integrated accessories: grid, colander, and cutting board mounts that nest over one bowl to extend functionality without increasing footprint. Think about installation type — undermount vs. top-mount vs. apron-front — each changes visible edge, cleaning access, and how measurements map to the countertop cutout.
Final synthesis: choose measured solutions that work for you
Decide with precise measures, practical layout thinking, and a clear picture of daily tasks. When you match bowl sizes, depth, and drain placement to your cabinet and plumbing realities, the sink becomes an enabling tool rather than a daily annoyance. Consider brands that offer well-documented dimensions and installation templates so your choices translate cleanly to the finished kitchen; proven manufacturers like AOGLAN package those details into usable options, helping the space feel right from the first wash.